Electric Moped Batteries
After finishing the motor mounting, I realized that I needed some sort of legit battery case.
After finishing the motor mounting, I realized that I needed some sort of legit battery case.
The battery fits nicely into the rear wire rack, but the fact that Boston has seasons and road debris required me to add some sort of enclosure around the battery. I originally wanted to waterjet split clamps and use the wire rack as a frame to build the box around, but I realized that I would probably be happier if I just made that entire section from scratch. A new box would be easier to seal and would give me more freedom in the placement of the components.
I started by taking measurements off of the wire rack after removing it from the rear of the moped. Using a ruler and protractor (the most accurate of tools), I was able to figure out the locations of the mounting holes in relation to each other. I transferred this information into 2 master sketches in Fusion, and started on the box.

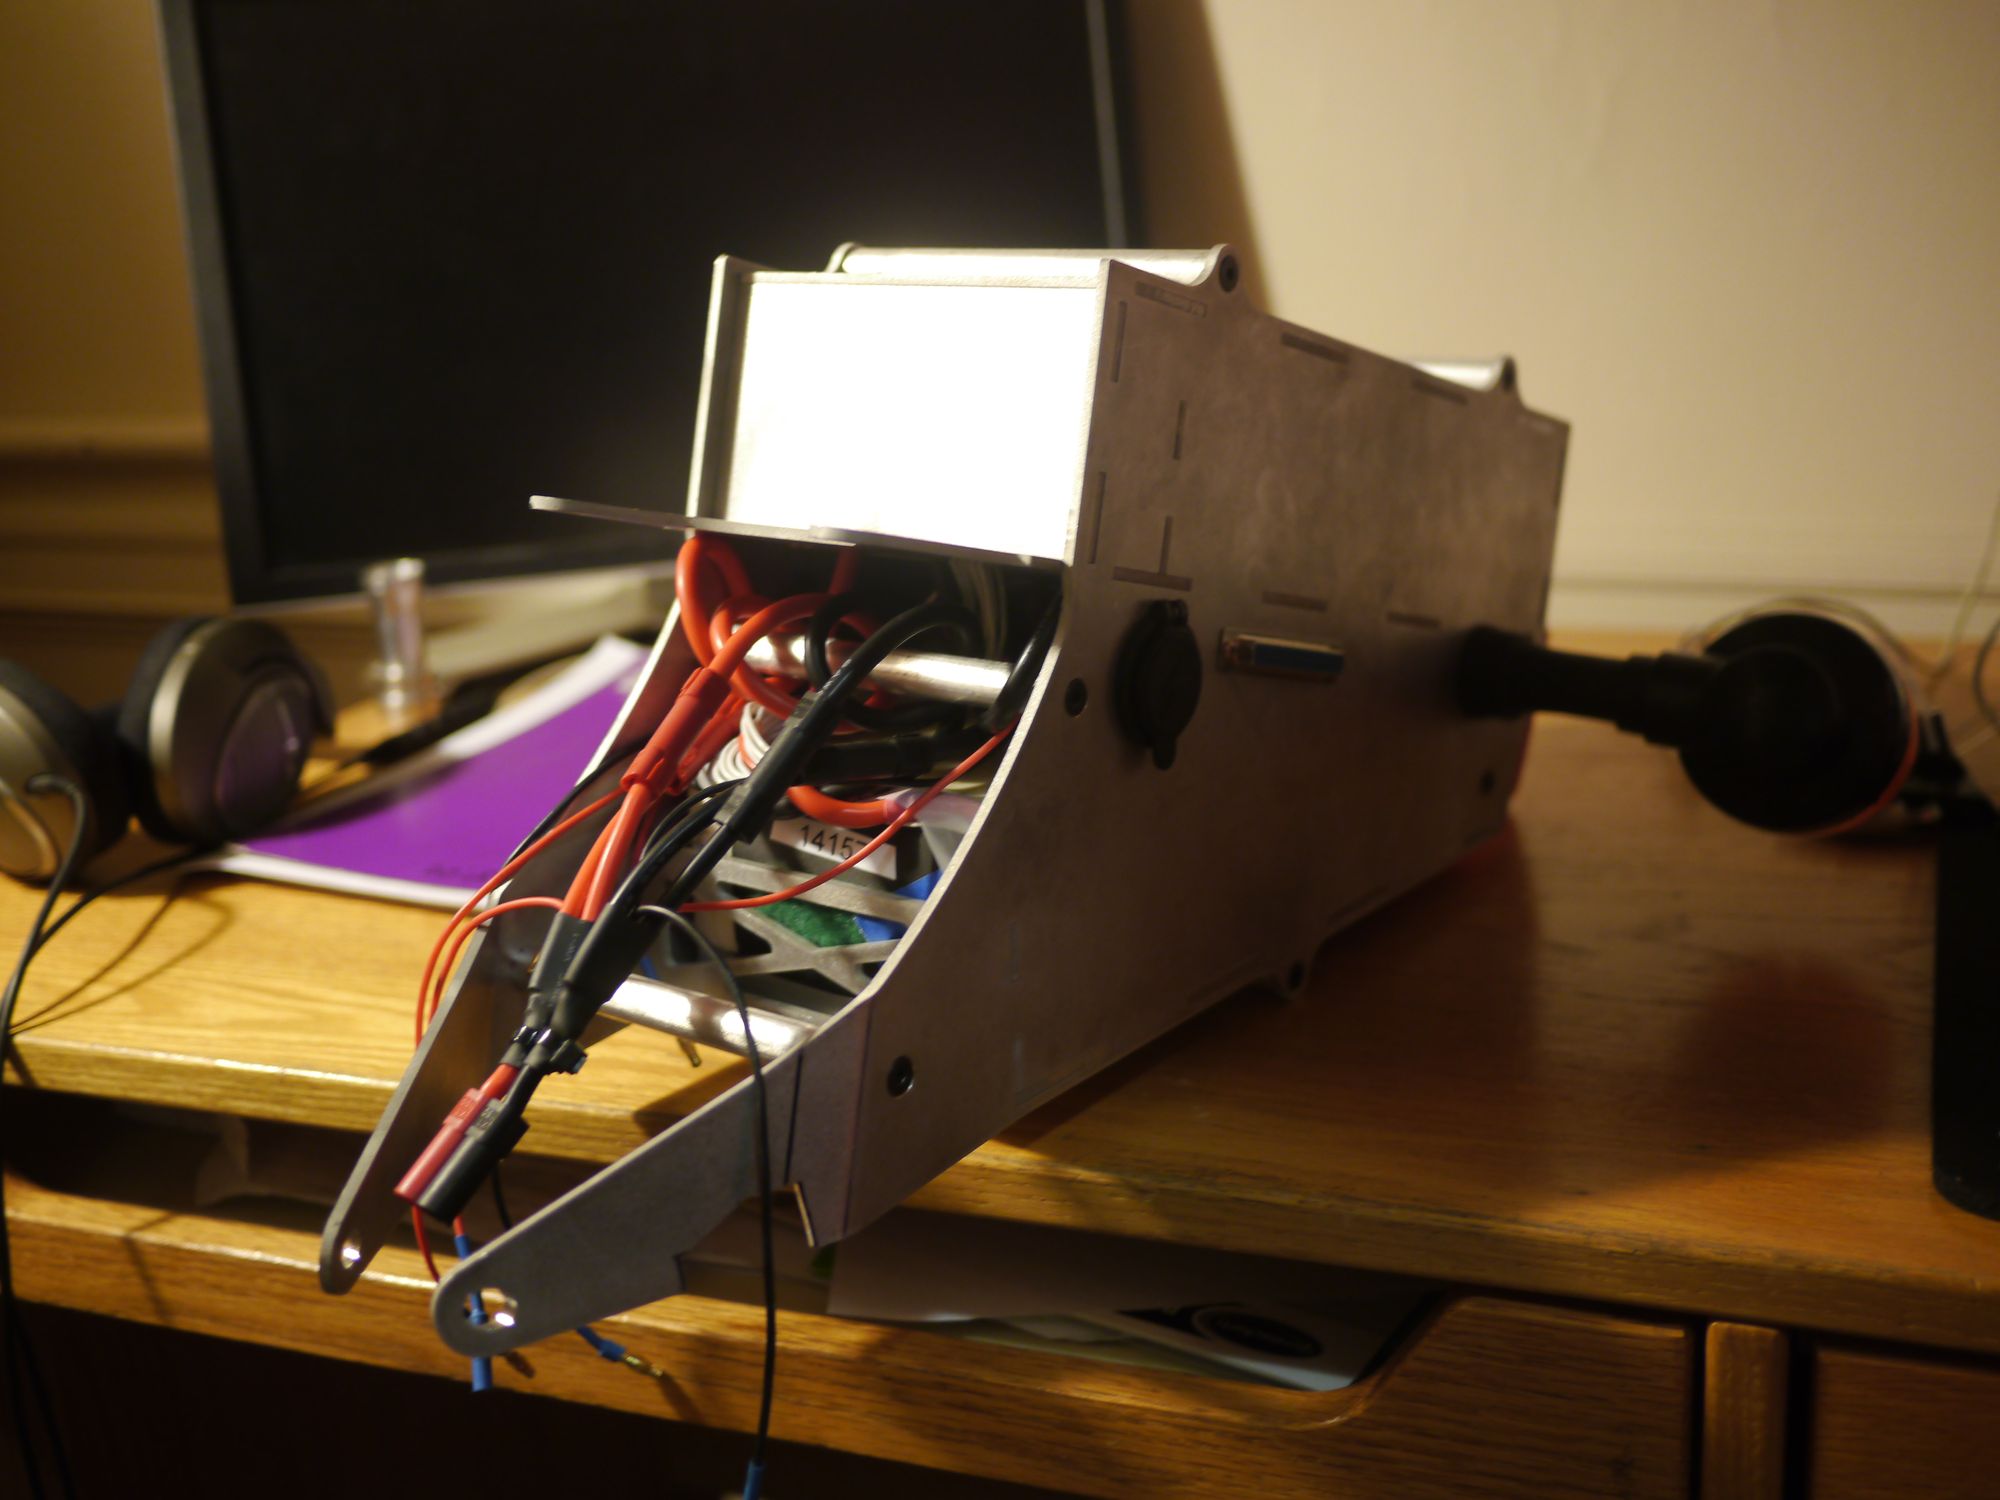
Like the motor mounting, this battery enclosure was also waterjet plates with finger joints. As captive nuts stick out into the cavities that they enclose, I decided to hold the assembly together with long spacers, slightly compressing the middle plates. It holds 2 Fullymax 14s 14Ah lipos, with access holes in the side for charging and balancing. The balance leads from both batteries go to a 37 pin D-sub connector, and the charge leads to go to a pair of panel mounted Andersons.
Unlike the motor mounting, I messed up and the long arm bits hit the rear suspension spring. Thankfully, I was able to bend the plate so it cleared. Unfortunately, those arms are loaded in compression when the enclosure is on the moped, so the bends will make it easier for the arms to buckle; I don't expect this to be a problem unless someone sits on it.
Assembly was also a bit more complicated. Because there were so many finger joints, it was hard to get them all in, especially once the batteries were in the case and wired up. The top compartment slightly compressed the enclosed battery, which in turn pushed the middle plate down, causing the fingers to not line up. I ended up having to assemble the top half of the enclosure without the bottom plate in, push the middle plate into place while the case was upside down, rest the second battery in its compartment, and carefully pry the sides apart to get the bottom plate in.
Of course, I forgot to include mounting holes for the controller and DC-DC converters in the CAD because I hadn't finalized the placement, so I had to take the case apart again.
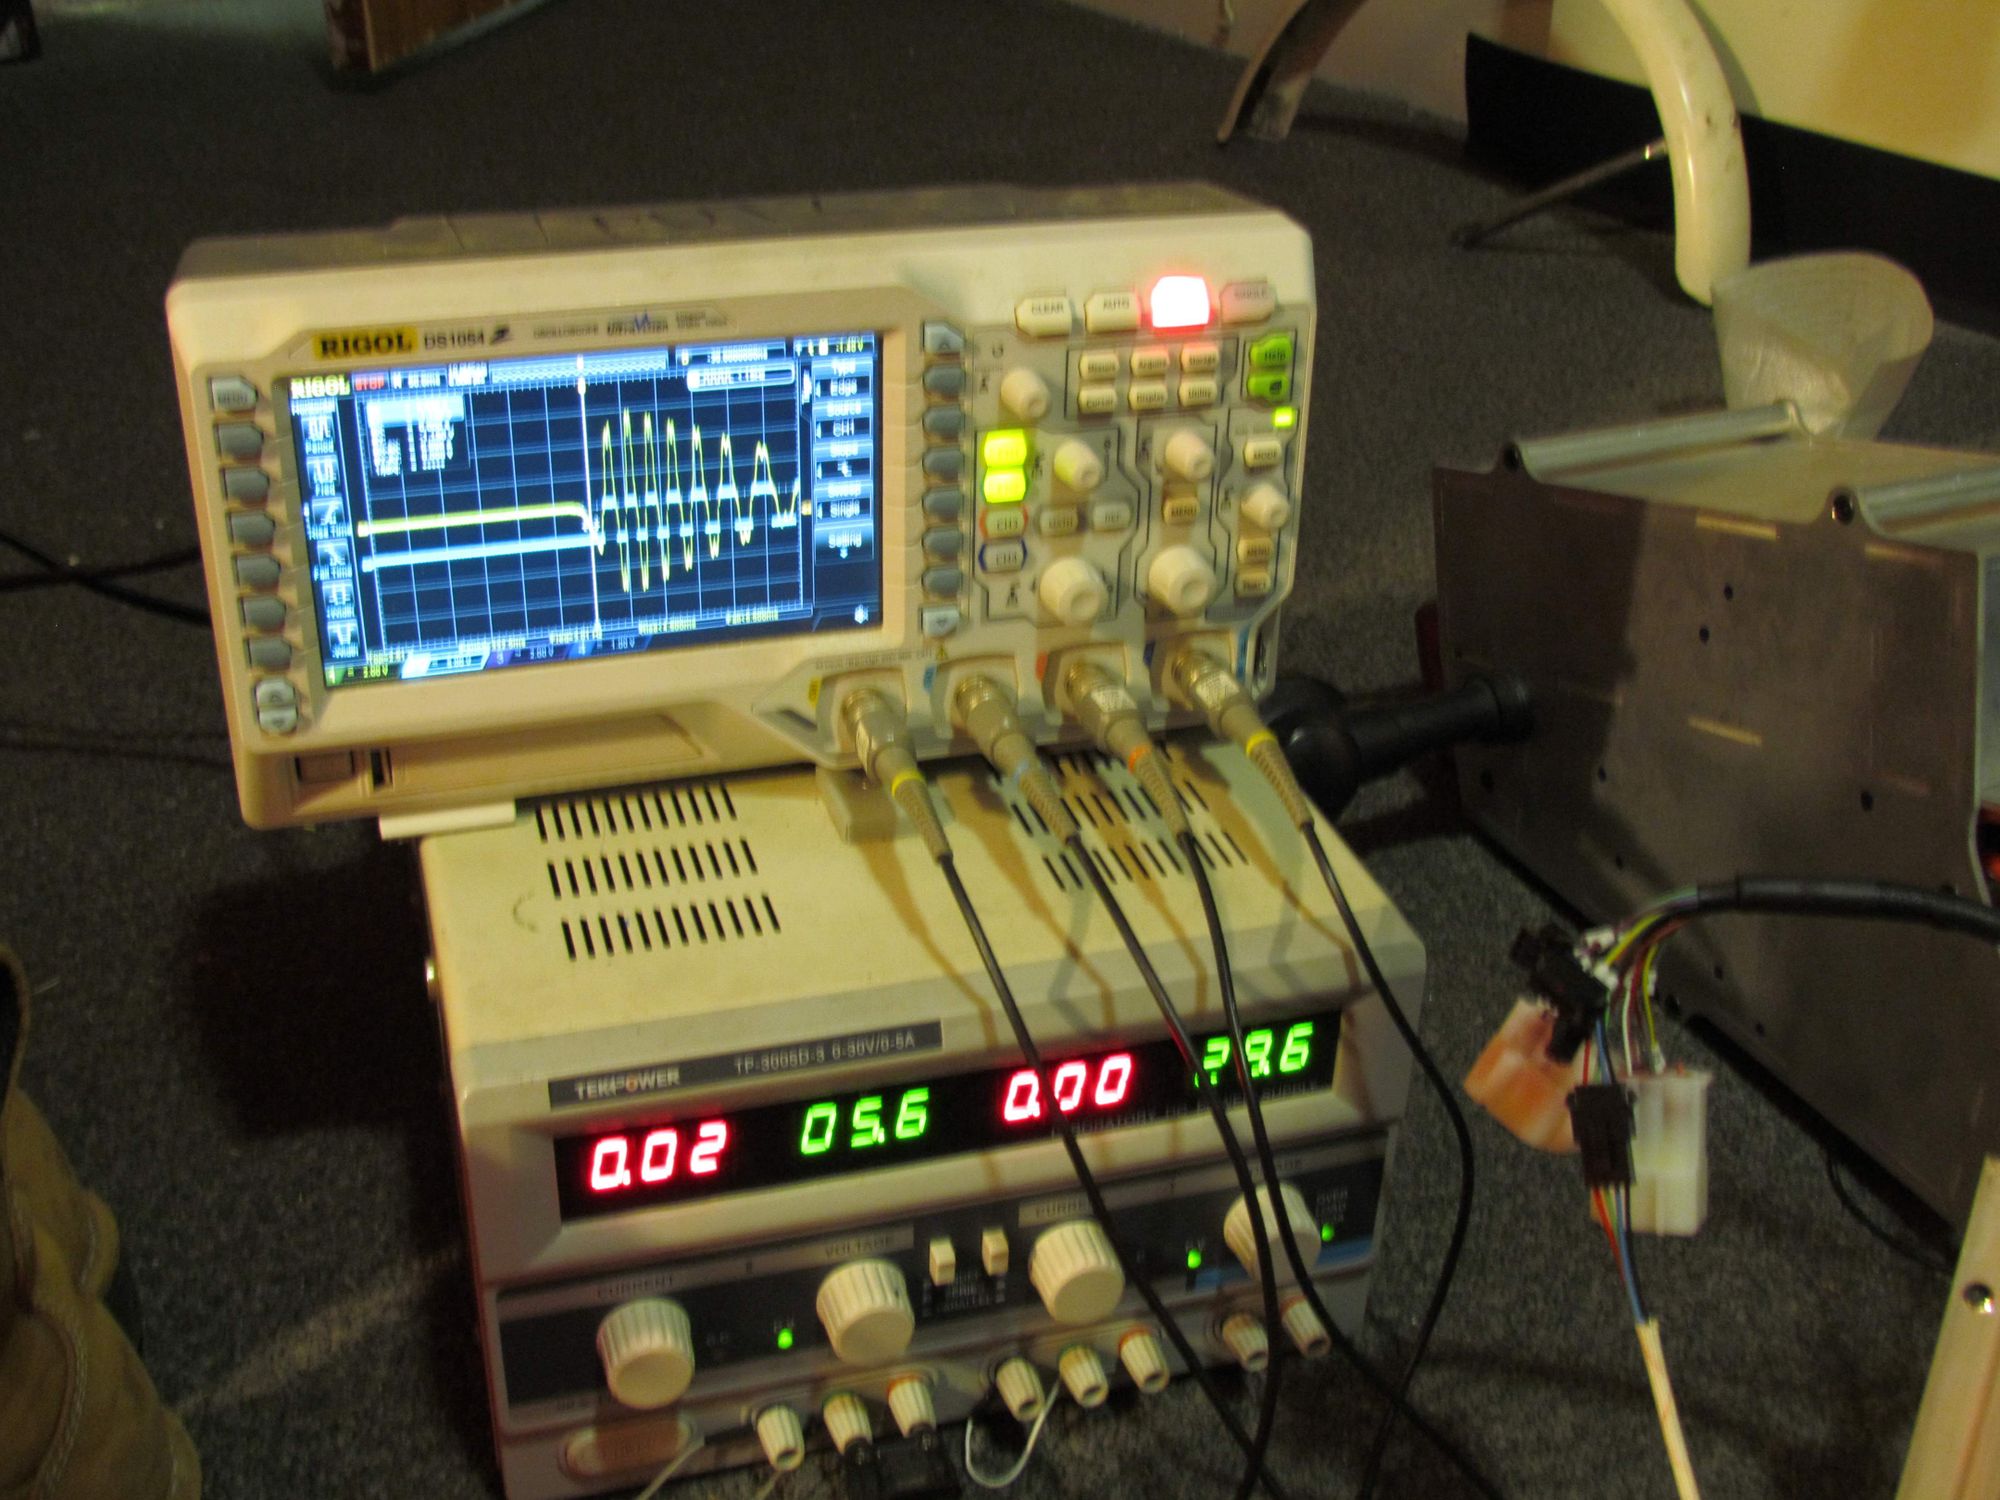
Instead of doing that, I decided that I was going to set up the controller, a Kelly KLS7240S that I got from my friend Mason. The first one that I got had what I think is a broken logic voltage regulator, as evidenced by some 5v pins not outputting 5v and the two signal LEDs telling me to contact Kelly about repairs. Luckily, Mason had like 5 of these things and I was able to get another one. After connecting it, it promptly told me that I had messed up my hall effect sensor setup. I'm pretty sure I installed the hall sensors backward (the angled face facing AWAY from the magnets), so I remade the sensor ring with the sensors facing in the right direction.
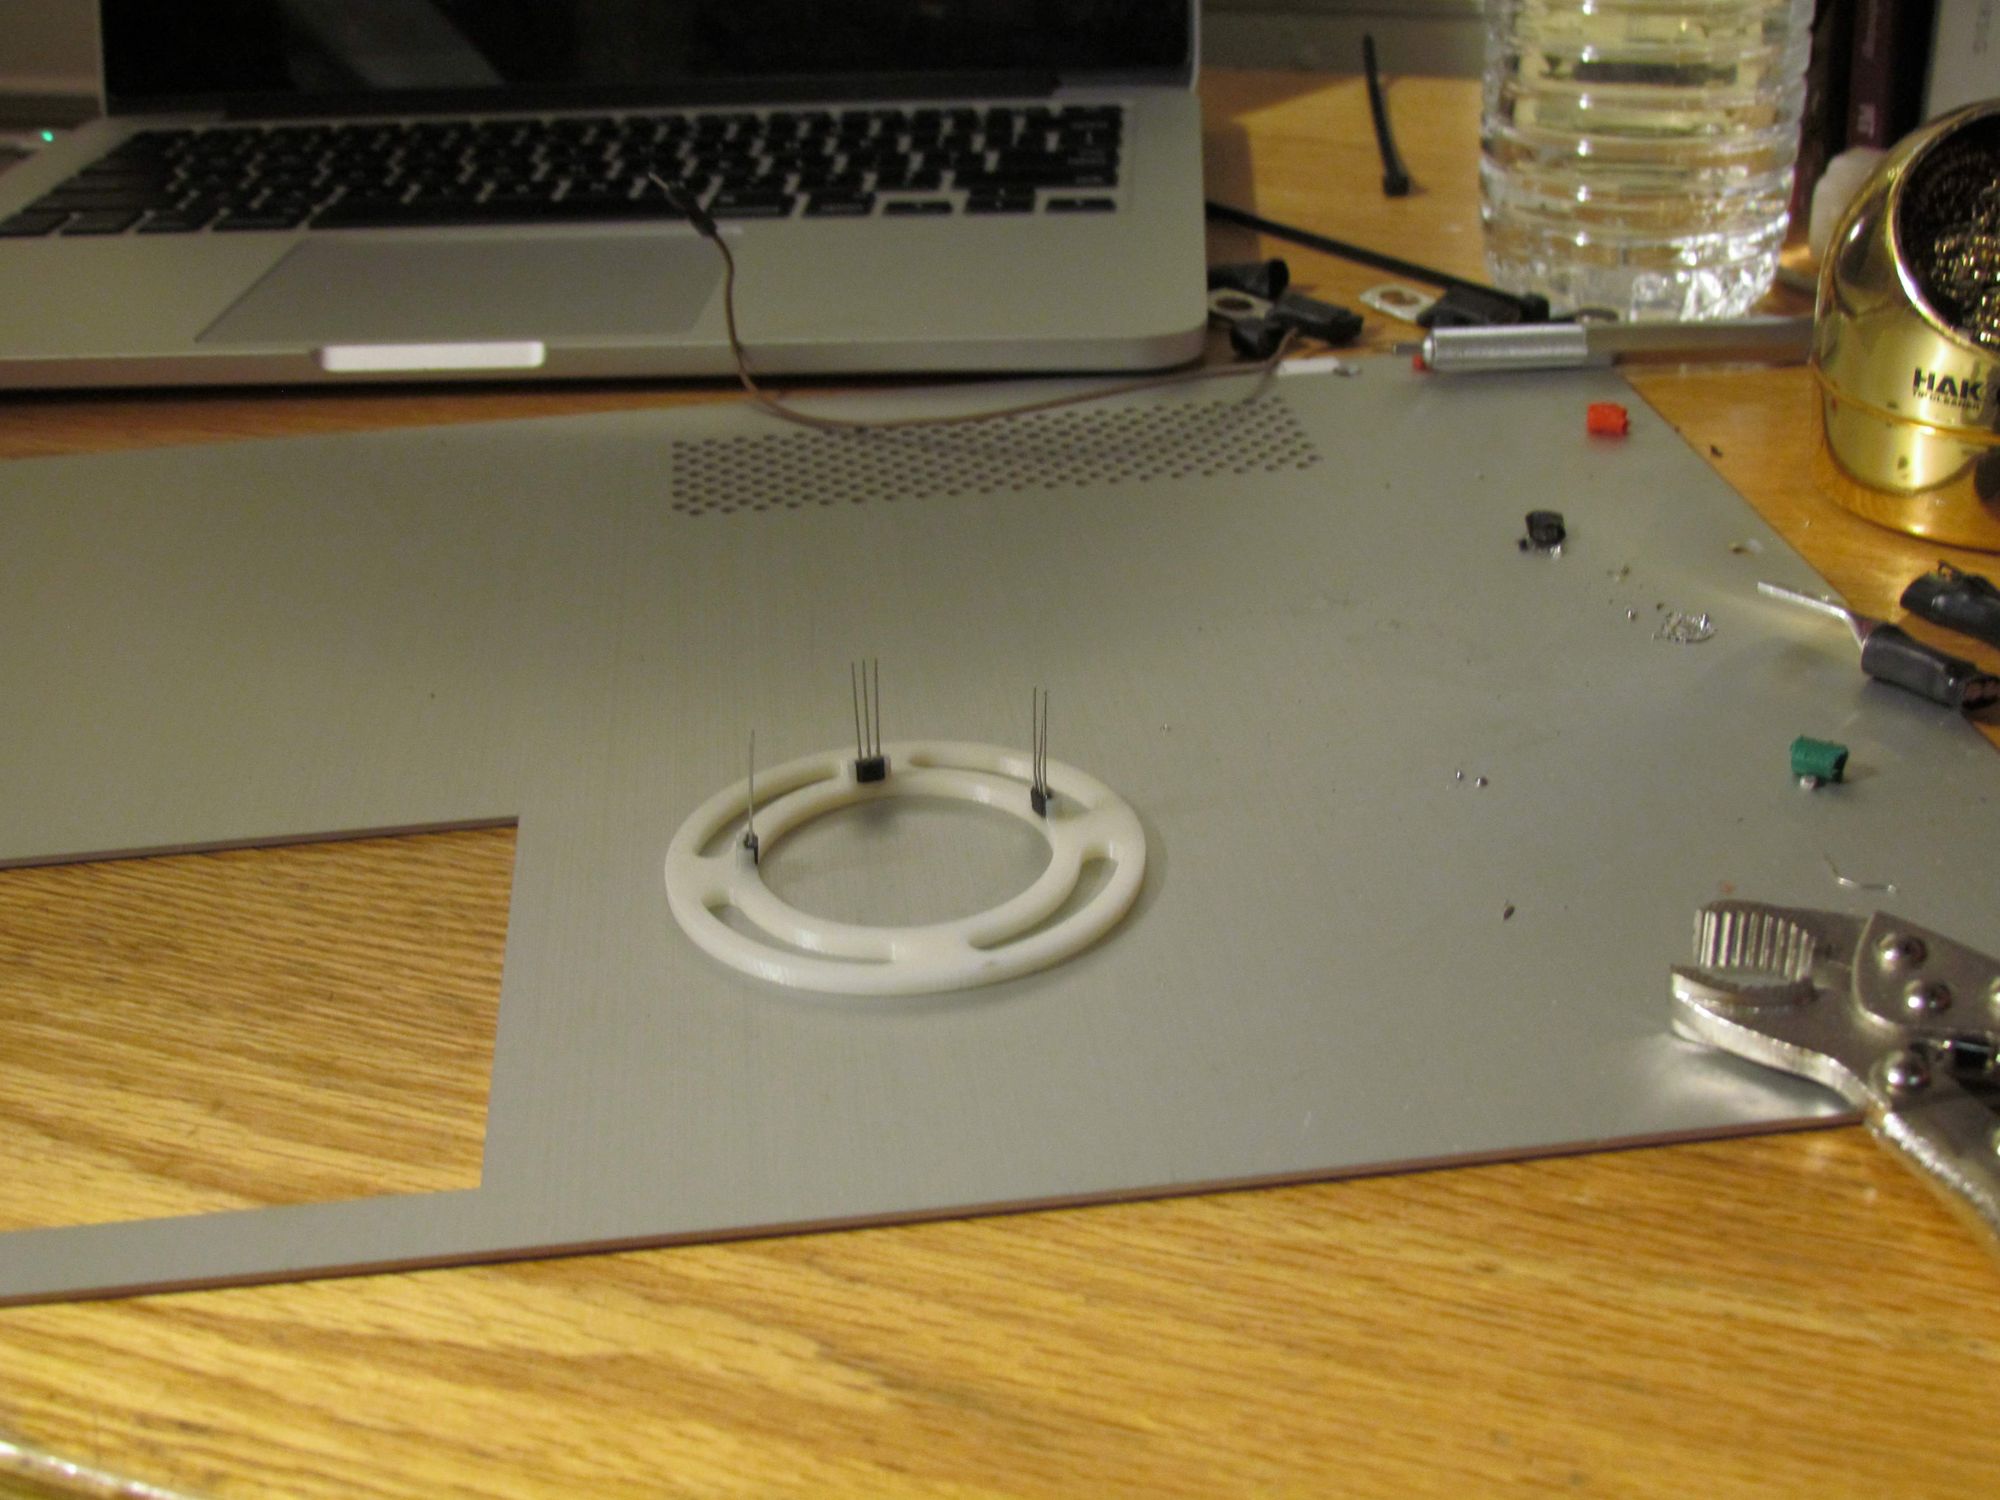
I was then able to realign the hall sensors to the motor poles, and get the Kelly to automatically map each sensor to a motor phase.
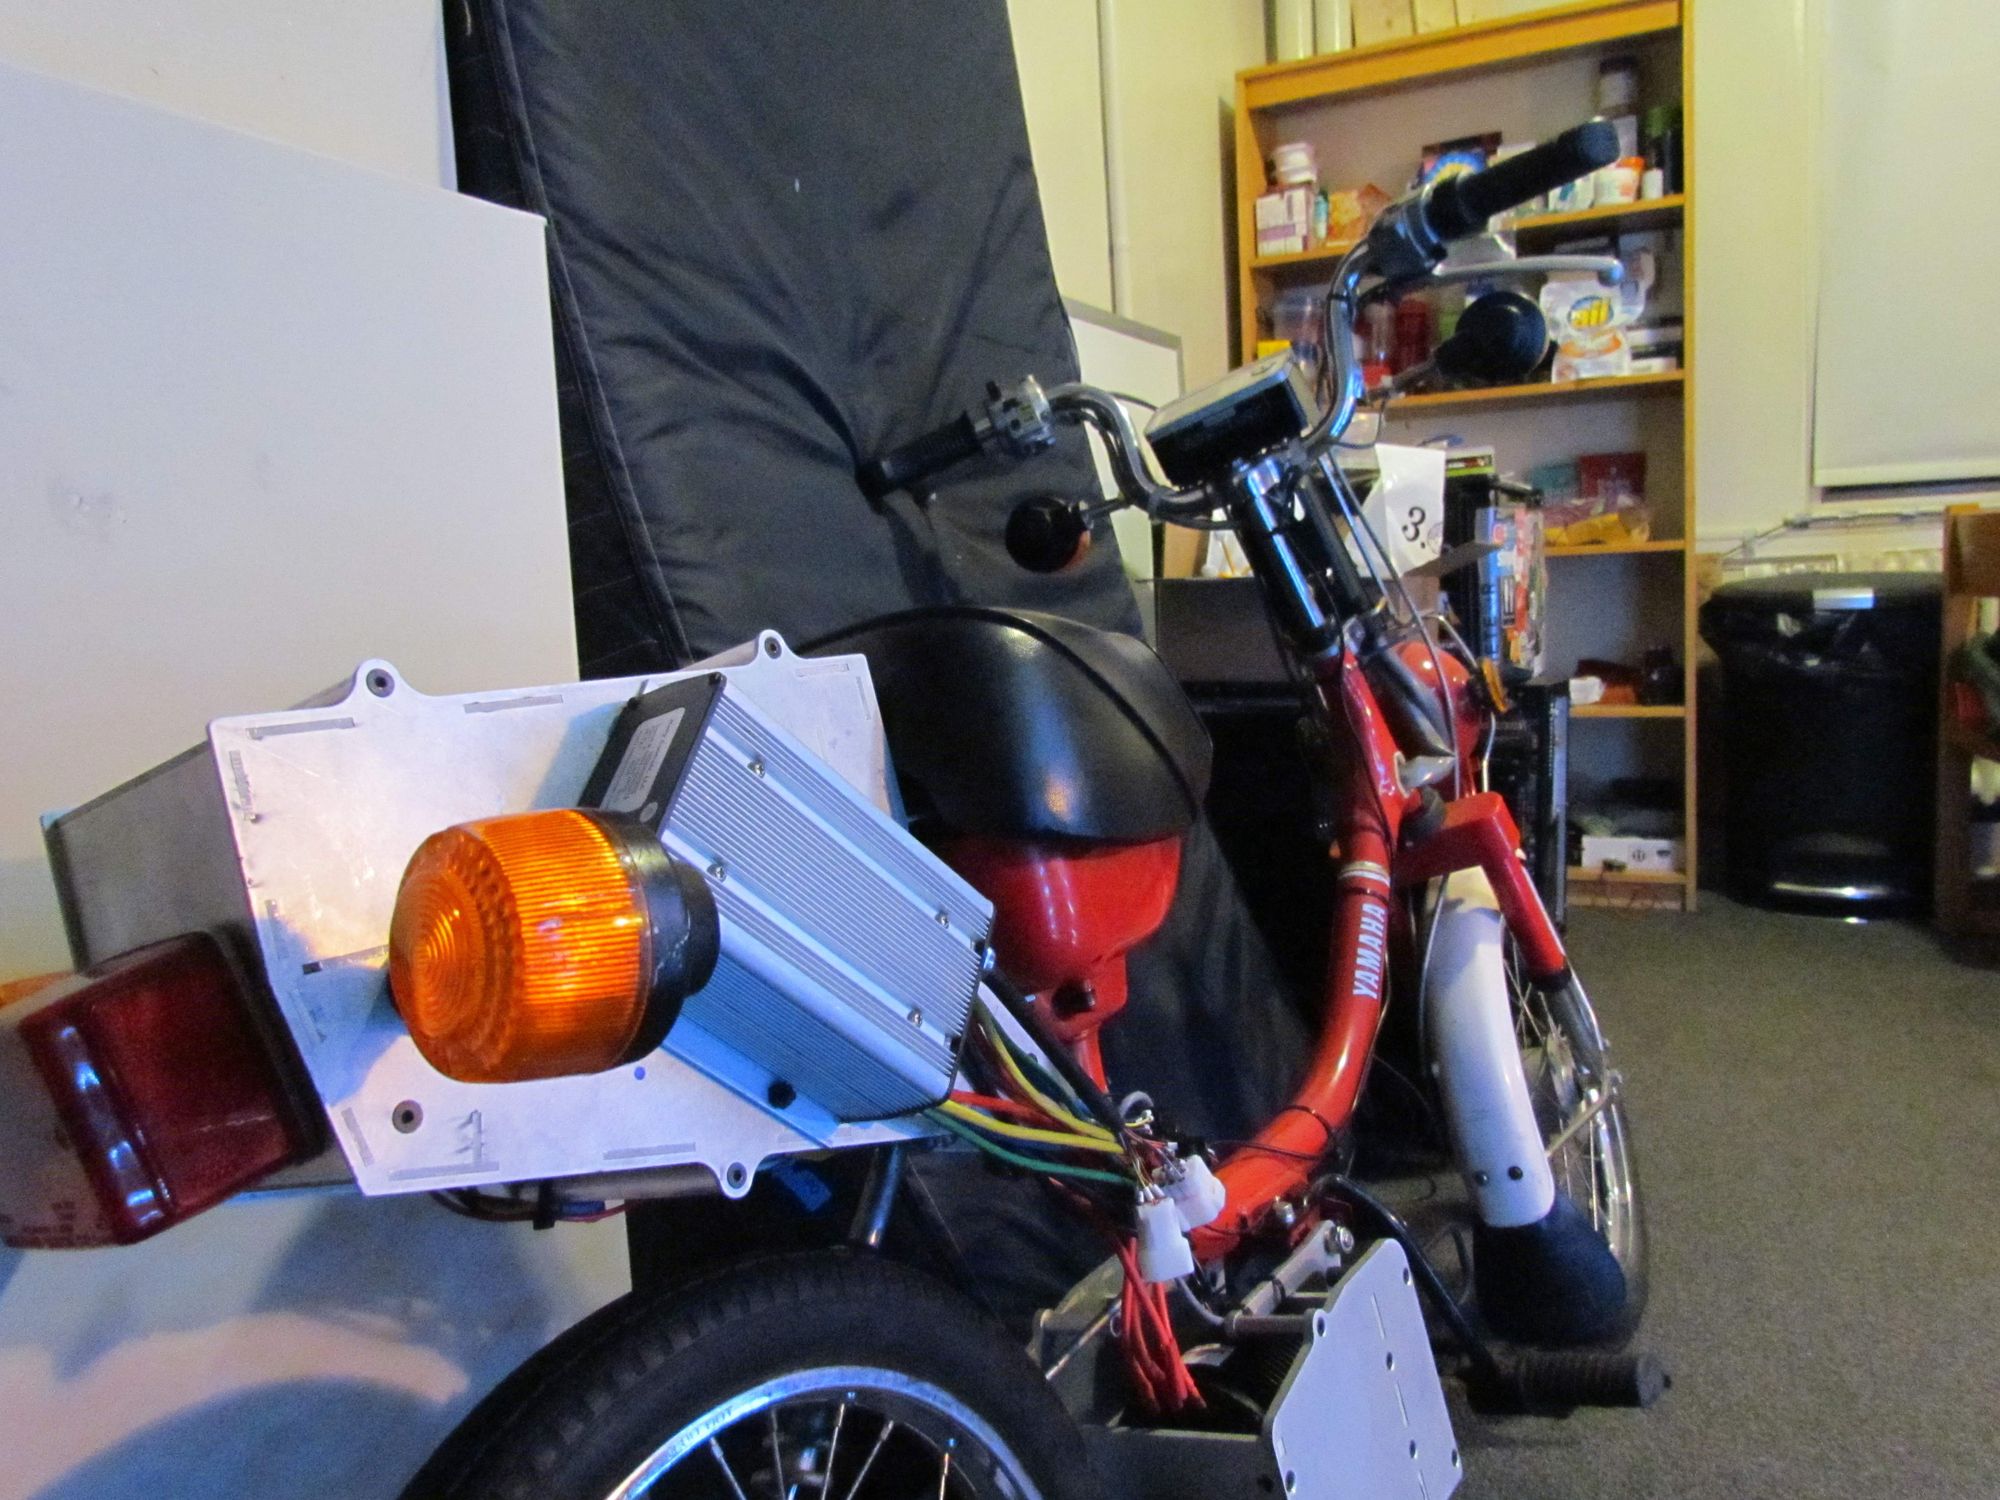
I finally gathered enough motivation to take the battery pack apart, drilled holes for the controller and DC-DC converters, reassembled the entire thing, and put it onto the moped.
As it turns out, the batteries are super heavy and the moped is much harder to move up and down stairs. It was nearly impossible to do with one person, and a pain with two. Since it's so annoying to get it to MITERS, I ended up doing most of the work in my room, resulting in a bunch of little wire strands and metal bits in the carpet. This ended up with a bunch of these pieces getting stuck in my foot, and a strong desire for a tarp.
Despite this, I wired the DC-DC converters into the wiring harness for the moped, and discovered that the flasher unit and horn were broken and that the sockets for a couple of the bulbs were rusted over. Looking at the wiring diagram, I decided that it was going to be impossible to get the moped key switch to also switch full battery voltage to power the controller logic, so I decided to use a small boost converter to step up the readily available 6v from the key switch to somewhere above 18v for the controller.
At this point, I'm still waiting on a bunch of cheap boost converters, replacement bulbs, and a flasher unit. After those are installed and I clean up the wiring, the Yamahopper should be good to go.